Set up your Cosmos wallet
To participate in the Cosmos ecosystem, you first need a compatible wallet. This guide focuses on Keplr and Leap, the two most widely used browser extensions and mobile apps for interacting with Cosmos-based chains like Osmosis, Celestia, and Cosmos Hub.

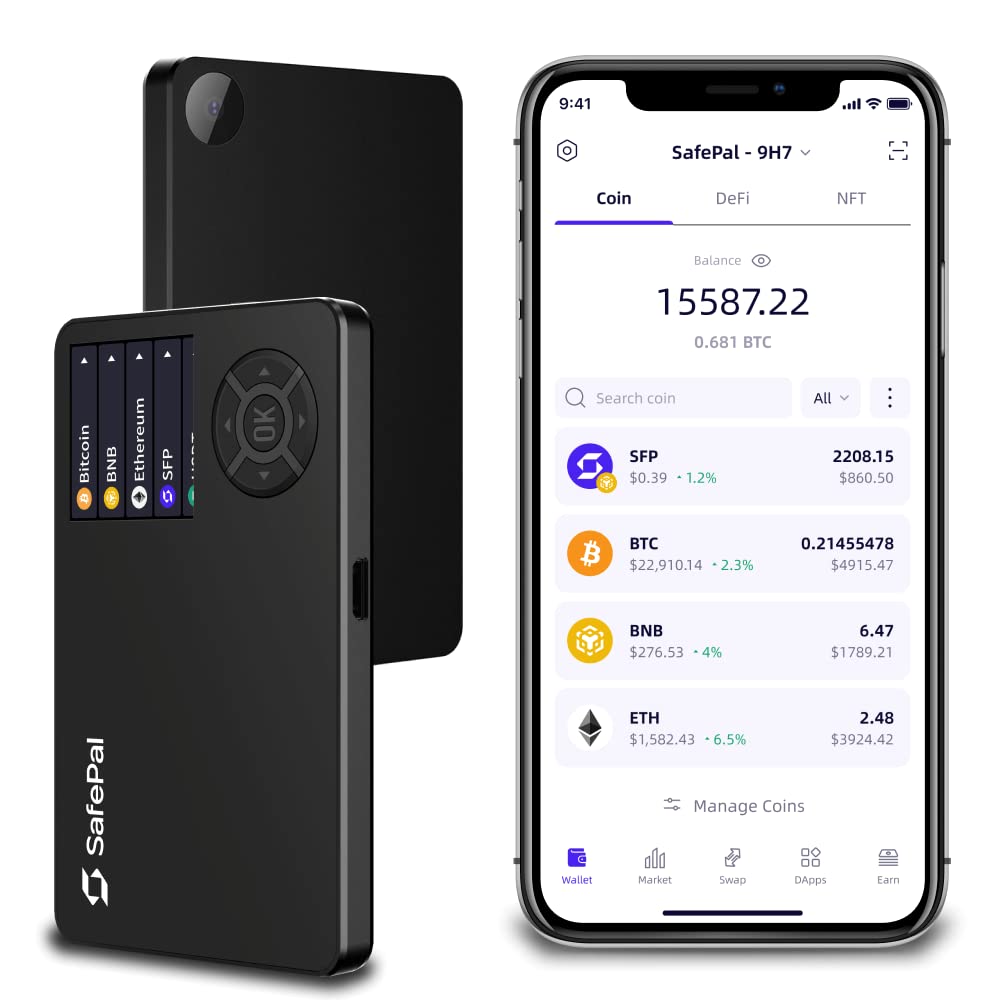
Visit the official Keplr or Leap website. Download the browser extension for Chrome, Firefox, or Brave, or install the mobile app from the iOS App Store or Google Play Store. These wallets serve as your gateway to the Cosmos ecosystem, allowing you to send, receive, and stake tokens.
During setup, the wallet will generate a 12-word recovery phrase (seed phrase). Write these words down on paper and store them in a secure, offline location. Never share this phrase with anyone, including support staff. If you lose access to your device, this phrase is the only way to recover your funds. Consider using a hardware wallet like Ledger or Trezor for added security, as both Keplr and Leap support hardware integration.
By default, Keplr and Leap may not have all Cosmos chains enabled. Go to the wallet settings, find the "Chains" or "Networks" section, and search for "Cosmos Hub." Toggle it on to enable staking and governance participation on the main Cosmos network. You may need to add other specific chains like Osmosis or Celestia depending on your needs.
To interact with Cosmos DeFi protocols, you need native tokens. Buy ATOM (Cosmos Hub) or a stablecoin like USDC from a centralized exchange like Coinbase or Binance. Withdraw these funds to your Keplr or Leap wallet address. Ensure you select the correct network (Cosmos Hub) when withdrawing to avoid losing funds.
With your wallet set up and funded, you are ready to explore the Cosmos DeFi landscape. The next step is to understand how to swap tokens and provide liquidity on decentralized exchanges like Osmosis.
Fund your account with ATOM
You need ATOM in your wallet to pay for transaction fees and stake for rewards across the Interchain. You can acquire it by withdrawing from a centralized exchange or bridging via IBC from another Cosmos chain. Choose the method that best fits your security needs and existing holdings.
Buy ATOM on a major exchange like Binance, Coinbase, or Kraken. Once purchased, navigate to the withdrawal section and select the Cosmos (ATOM) network. Paste your wallet address carefully. Ensure you are not using a Bitcoin or Ethereum address, as ATOM is native to its own blockchain. Withdrawals typically take a few minutes to confirm on-chain.
If you already hold tokens in the Cosmos ecosystem, such as OSMO or ATOM on a testnet, you can move them to your mainnet wallet using Inter-Blockchain Communication (IBC). Use a wallet like Keplr that supports IBC. Select the "Send" or "IBC Transfer" function, choose the source chain (e.g., Osmosis), and enter your destination address. This method often has lower fees and faster settlement than centralized exchanges.
After initiating the transfer, wait for the required number of confirmations. Open your wallet app and check your ATOM balance. If the funds do not appear within 10-15 minutes, check the transaction hash on a block explorer like Mintscan to ensure the transaction was successful. Never assume a transaction is complete until the balance reflects in your wallet.
Using a centralized exchange is the easiest entry point for beginners, but it introduces counterparty risk. You do not hold the private keys until you withdraw. IBC transfers offer more control and speed but require familiarity with the Cosmos ecosystem. Always double-check the network and address before sending.
Stake ATOM for Security
Staking ATOM is the most direct way to earn yield while securing the Cosmos Hub. It is not just passive income; you are actively voting on network governance and ensuring the chain remains secure against attacks. If you skip this step, you miss out on the core value proposition of the Cosmos ecosystem.
Not all validators are equal. Look for those with a high uptime (99%+) and reasonable commission rates. Avoid validators who are overly centralized or have a history of downtime, as this can lead to slashing penalties for your stake. Check their governance voting records to ensure they align with your interests.
Once you have selected a validator, navigate to your wallet interface (such as Keplr or Leap). Find the staking section and enter the validator’s address. Enter the amount of ATOM you wish to delegate. Remember, staked ATOM is locked for a period (typically 21 days) before you can withdraw it.
Staking is not set-and-forget. Regularly review your validator’s performance. If a validator’s commission increases significantly or their uptime drops, consider unbonding and re-delegating to a better performer. This active management ensures you maximize your yield and minimize risk.
By staking ATOM, you align your financial incentives with the health of the network. This creates a robust security model that benefits all participants in the Cosmos ecosystem.
Deploy liquidity on Osmosis
Osmosis serves as the primary decentralized exchange (DEX) and liquidity hub for the Cosmos ecosystem. Think of it as the central plaza where all the independent blockchains (zones) converge to trade assets. Because Cosmos chains are interoperable, Osmosis allows you to provide liquidity for pairs that might not exist on a single-chain DEX like Uniswap. However, this convenience comes with complexity. You are not just providing liquidity; you are managing cross-chain risk, impermanent loss, and smart contract exposure.
Before you lock up capital, understand that Osmosis uses concentrated liquidity models for certain pools. This means your capital is only effective within a specific price range. If the price moves outside that range, your liquidity becomes inactive, and you may end up holding a bag of the depreciating asset. This is different from traditional constant-product pools where capital is spread across the entire price curve. You must choose your pool type carefully based on your risk tolerance.
1. Connect your wallet
Start by installing a Cosmos-compatible wallet such as Keplr or Leap. Ensure you have the necessary native tokens (like ATOM or OSMO) in the wallet to cover transaction fees. Osmosis operates on the Osmosis chain, so you will need OSMO for gas. Do not skip this step; failed transactions due to insufficient gas are the most common beginner error. Verify that your wallet is connected to the correct network.
2. Choose your pool type
Navigate to the "Pools" section on the Osmosis interface. You will see two main categories: Standard Pools and Concentrated Liquidity Pools. Standard pools are easier to manage but less capital-efficient. Concentrated pools offer higher yields but require active management. For a first-time strategy, consider starting with a Standard Pool to understand the mechanics without the pressure of managing price ranges. Review the pool’s historical volume and fee APY to gauge sustainability.
3. Deposit assets
Select the asset pair you wish to provide liquidity for, such as ATOM/USDC. The interface will calculate the ratio of tokens you need to deposit. Osmosis uses a 50/50 value split for most standard pools. Deposit both assets simultaneously. Be aware that if the market is volatile, the value of your deposited assets will fluctuate significantly. This is not a stablecoin yield farm; it is a market-making position. Check the "Impermanent Loss" calculator if available to estimate potential downside.
4. Confirm and monitor
Review the transaction details in your wallet. Confirm the deposit. Once the transaction is finalized, your LP tokens will appear in your wallet. These tokens represent your share of the pool and accrue trading fees. Set up a portfolio tracker or use Osmosis’s dashboard to monitor your position daily. If you are in a concentrated pool, you will need to rebalance your liquidity range as prices move. Neglecting this can lead to significant losses.
Install Keplr or Leap and ensure you hold OSMO for gas fees on the Osmosis chain.
Choose between Standard Pools for simplicity or Concentrated Liquidity Pools for higher efficiency.
Deposit equal value amounts of both tokens in the pair. Verify the ratio and estimated APY before signing.
Track your LP tokens and rebalance concentrated positions if prices move out of your set range.
- Secure offline storage
- Native Cosmos support
- Protects private keys

As an Amazon Associate, we may earn from qualifying purchases.
Explore cross-chain DeFi tools
A clear sequence helps: define the constraint, compare the realistic options, test the tradeoff, and choose the path with the fewest hidden costs. That order keeps the advice usable instead of decorative.
After each step, pause long enough to check whether the recommendation still fits the reader's actual situation. If it depends on perfect timing, unusual access, or a best-case budget, include a simpler fallback.
The simplest way to use this section is to write down the real constraint first, compare each option against it, and choose the path that still works outside ideal conditions.
Common mistakes to avoid
Building a Cosmos DeFi strategy is powerful, but the multi-chain architecture introduces unique risks that don't exist in single-chain ecosystems. One wrong move can result in permanent loss of funds. Here are the critical pitfalls to watch for.
Sending tokens to EVM addresses
The most common and costly error is sending ATOM or IBC-native tokens directly to an Ethereum-style address. Cosmos addresses use a Bech32 format (starting with cosmos1), not the hex format used by EVM chains. Sending to the wrong address type usually results in immediate loss with no recovery path.
Always double-check the address prefix. If you are bridging from an EVM chain, use an official bridge or a trusted aggregator that handles the address conversion. Never manually paste an EVM address into a Cosmos wallet transfer field.
Ignoring IBC transfer delays
IBC transfers are trustless but not instantaneous. They rely on light clients verifying headers across chains, which can take time depending on the destination chain's block production rate. During periods of high congestion or chain upgrades, transfers can stall for hours or even days.
Do not assume your funds have arrived just because you initiated the transaction. Monitor the transfer status on the source chain's explorer. If a transfer is stuck, it may require manual relaying or waiting for the destination chain's next upgrade. Patience is required.
Selecting high-fee validators
Not all validators are created equal. Some charge excessive fees or have poor uptime, which can delay your rewards or even result in slashing (penalties for downtime). While Cosmos Hub uses a delegation model, choosing a lazy or malicious validator can hurt your portfolio.
Check the validator's commission rate, uptime, and self-delegation percentage before delegating. Stick to well-known, reputable validators. The small savings from a lower commission rarely justify the risk of poor performance or slashing events.
No comments yet. Be the first to share your thoughts!