Set up a Cosmos-compatible wallet
Before you can stake ATOM or bridge assets to Osmosis, you need a non-custodial wallet that speaks the Cosmos language. Unlike standard Ethereum wallets, Cosmos uses the Cosmos SDK, which requires specific address formats and signing mechanisms.
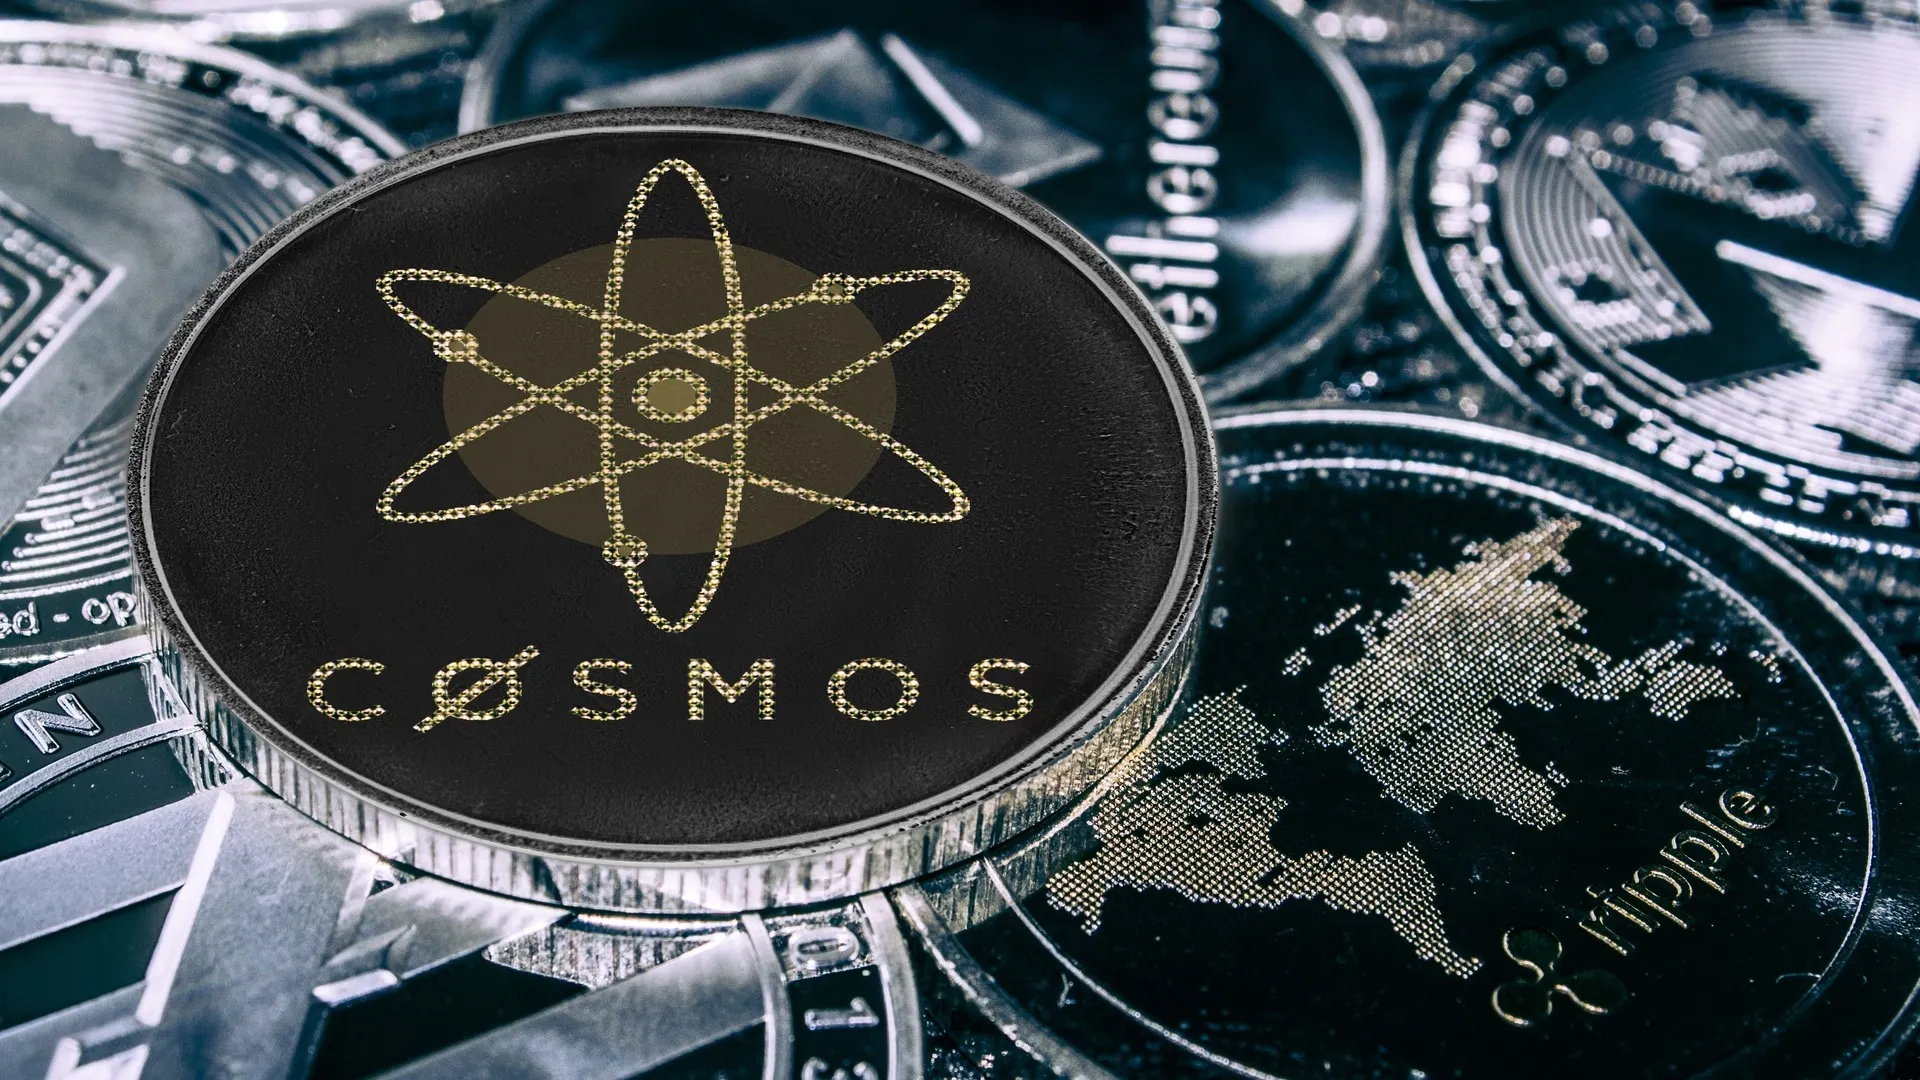
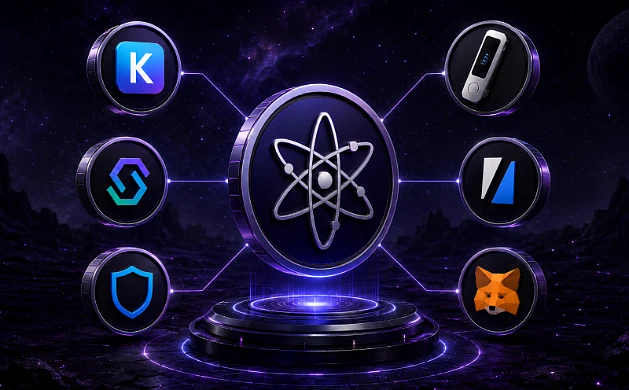
We recommend using a dedicated Cosmos wallet like Keplr or Leap. These extensions are built specifically for the Cosmos ecosystem, ensuring compatibility with Osmosis and other IBC-enabled chains. Install the browser extension, create a new wallet, and securely back up your seed phrase. Never share this phrase with anyone.
Once installed, ensure your network is set to the Cosmos Hub mainnet. You will need ATOM in this wallet to pay for transaction fees and to initiate staking. If you do not have ATOM yet, you can purchase it on a centralized exchange and withdraw it to your new Cosmos wallet address.
Acquire and secure ATOM tokens
Before you can stake ATOM or bridge to Osmosis, you need to own the tokens. Start by purchasing ATOM on a reputable exchange like Kraken or Coinbase. These platforms offer high liquidity and established security protocols, reducing the risk of exchange-related failures during your initial acquisition. Once purchased, do not leave your ATOM on the exchange. Centralized exchanges are custodial, meaning you do not control the private keys. For high-stakes DeFi interactions, self-custody is non-negotiable. Transfer your ATOM to a non-custodial wallet such as Keplr or Leap. These wallets allow you to sign transactions directly on the Cosmos blockchain, ensuring you retain full ownership of your assets.
When transferring, ensure you are sending ATOM over the Cosmos Hub network (Cosmos SDK) to your wallet’s Cosmos address. Sending to the wrong chain or address type can result in permanent loss. Always verify the receiving address and perform a small test transaction first if you are moving a significant amount.
Stake ATOM directly on Cosmos Hub
Staking ATOM on the Cosmos Hub is the foundational move for any Cosmos DeFi strategy. By staking directly on the hub, you earn native rewards and help secure the network, but more importantly, you prepare your assets for the next phase: bridging to Osmosis.
Think of staking as renting out your ATOM to validators. In return, they pay you a yield. This isn't just passive income; it's the fuel that powers the entire Cosmos ecosystem. Once your ATOM is staked, you can bridge it to Osmosis to access deeper liquidity and higher yields, but you need to understand the staking mechanics first.
Here is how to stake your ATOM securely using the official Cosmos Hub interface.
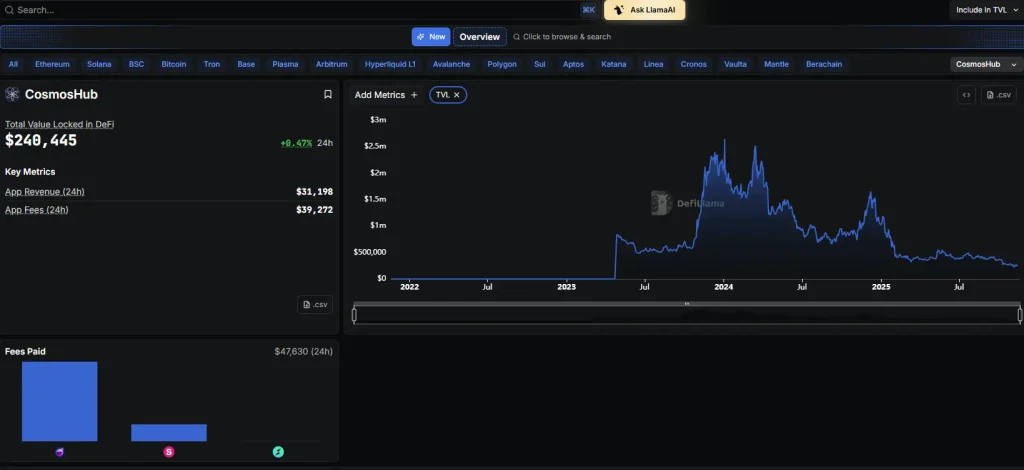
Navigate to the official Cosmos Hub website and click the "Stake" or "Dashboard" button. Connect your preferred Cosmos-compatible wallet, such as Keplr or Leap. Ensure you are on the correct network (Cosmos Hub Mainnet) before proceeding. The dashboard will display your total ATOM balance, including both staked and unstaked amounts.
Browse the list of validators on the staking dashboard. Look for validators with high uptime, reasonable commission rates, and sufficient self-delegation. You can sort by "APR" (Annual Percentage Rate) or "Commission" to find the best fit for your goals. Remember, you can switch validators at any time without losing your staked status.
Click "Delegate" next to your chosen validator. Enter the amount of ATOM you wish to stake. Review the transaction details, including the estimated annual rewards and the transaction fee (gas). Confirm the transaction in your wallet. Your ATOM will now be bonded to the validator, and you will start earning rewards immediately.
After the transaction is confirmed, return to the staking dashboard. Your staked ATOM should now appear under the "Staked" tab. You can track your rewards accumulation in real-time. Keep this page open as you prepare to bridge your assets to Osmosis in the next section.
Staking on the Cosmos Hub is straightforward, but it requires attention to detail. Always double-check the validator's details and the transaction amount. Once your ATOM is staked, you are ready to bridge to Osmosis and explore the broader Cosmos DeFi landscape.
Bridge assets to Osmosis for DeFi yield
Bridging assets from the Cosmos Hub to Osmosis is the critical step that unlocks access to the ecosystem’s most liquid decentralized exchange. While staking ATOM on the Hub secures the network, moving those assets to Osmosis allows you to provide liquidity and earn yield from trading fees. This process relies on the Inter-Blockchain Communication (IBC) protocol, which acts as a secure, trustless bridge between the two chains.
Unlike centralized exchanges that hold your funds in custodial wallets, IBC transfers are peer-to-peer. Your assets move directly from your Cosmos Hub address to your Osmosis address without an intermediary. This method is generally faster and cheaper than using third-party bridging services, though it requires using a compatible wallet that supports both chains, such as Keplr or Leap.
Follow these steps to safely bridge your ATOM from the Cosmos Hub to Osmosis.
Navigate to the official Osmosis Bridge interface. Ensure you are on the legitimate URL (app.osmosis.zone) to avoid phishing sites. Click "Connect Wallet" and select your Cosmos-compatible wallet (e.g., Keplr). Approve the connection request in your wallet extension or mobile app. This action grants the bridge permission to view your balance and initiate transactions.
In the bridge interface, select ATOM as the asset you wish to transfer. For the "Source Chain," choose "Cosmos Hub." This tells the bridge to look for your ATOM balance on the primary Cosmos network. The interface will automatically display your current available balance on the Hub, ensuring you are moving funds you actually hold.
Verify that the "Destination Chain" is set to Osmosis. Double-check that the destination address matches your Osmosis wallet address. Since IBC transfers are irreversible, sending ATOM to the wrong address or chain will result in permanent loss. The bridge interface often pre-fills this if your wallet is linked, but manual verification is essential for high-stakes transfers.
Click "Bridge" or "Transfer" to initiate the transaction. Your wallet will prompt you to confirm the gas fee (paid in ATOM on the Cosmos Hub). Once confirmed, the bridge locks your ATOM on the Cosmos Hub and mints equivalent tokens on Osmosis. This process typically takes 5–10 minutes, depending on network congestion. You will see a confirmation message once the transfer is complete.
Once the transfer is complete, your ATOM will appear in your Osmosis wallet balance. You can now deposit these assets into Osmosis pools to earn yield. Always ensure you are interacting with official interfaces to maintain the security of your assets.
Check for common bridge and slippage errors
The easiest mistake with Cosmos Crypto DeFi is changing too much at once. Rename devices, move networks, update firmware, or adjust permissions one at a time. When setup fails, the last change should be obvious enough to undo without rebuilding the whole configuration. Do not treat a successful app screen as the final test. Use the physical control, the app, and any connected automation to confirm the setup works from every path the reader will actually use.
The simplest way to use this section is to keep the setup small, verify each change, and record the stable configuration before adding optional accessories.
No comments yet. Be the first to share your thoughts!