Set up a Cosmos-compatible wallet
To interact with the Cosmos ecosystem, you first need a wallet that speaks the Inter-Blockchain Communication (IBC) protocol. Unlike standard Ethereum wallets that only handle ERC-20 tokens, a Cosmos-compatible wallet must understand the unique address formats and transaction structures of the Cosmos Hub and its connected zones. This setup is your gateway to staking, trading, and bridging assets across the network.
Start by choosing a wallet that explicitly supports Cosmos. Keplr is the most widely used browser extension and mobile wallet for this purpose, offering seamless integration with major dApps. If you hold significant value, consider a hardware wallet like Ledger or Trezor, which can connect to Keplr for offline security. Never share your seed phrase with anyone, including support staff. Use a hardware wallet for significant holdings to protect against phishing and malware.
Once installed, create a new wallet and securely write down your 12-word recovery phrase. Store it in a physical, offline location. After initialization, you will see your Cosmos address (starting with cosmos1...). This address is your identity on the network. You can now receive ATOM, your native staking token, or any IBC-transferred asset from other chains like Osmosis or Celestia. With your wallet configured, you are ready to bridge assets and begin participating in the ecosystem.
Download Keplr from the official website or your device's app store. For hardware wallet users, install the Ledger Live app and add the Cosmos app. Ensure you are downloading from official sources to avoid malicious clones.
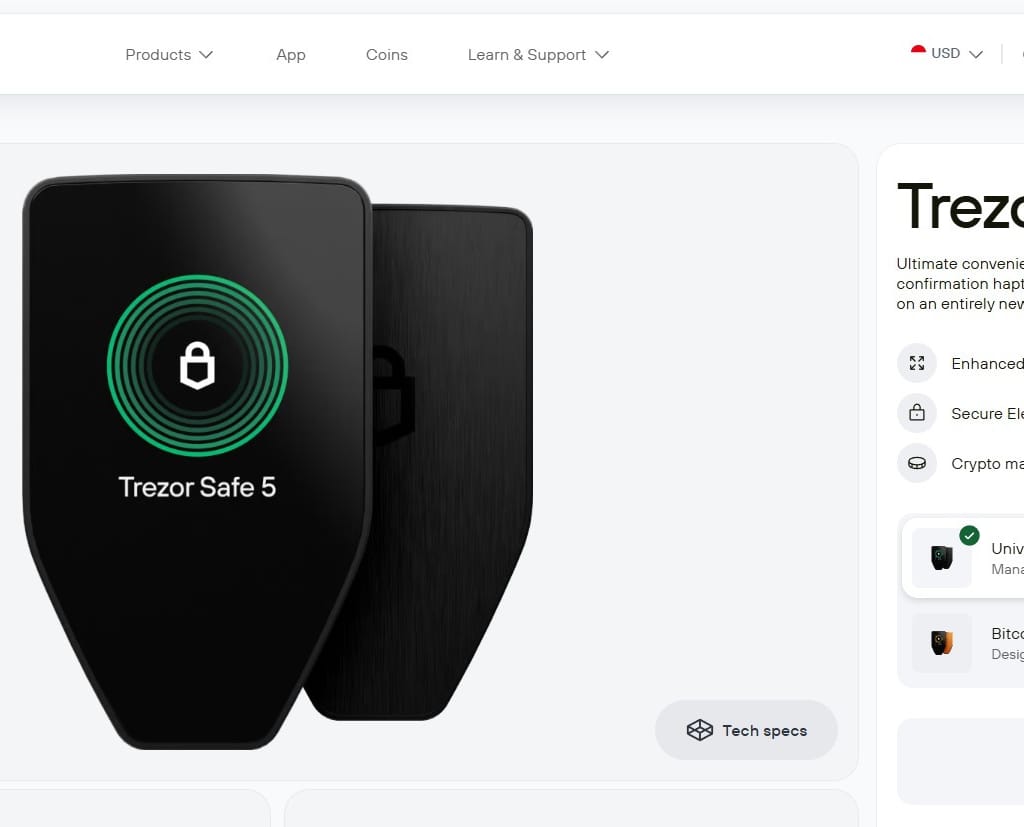
Generate a new wallet and carefully record your 12-word seed phrase on paper. Store it in a safe, offline location. Never digitize this phrase or share it with anyone. This phrase is the only way to recover your funds if you lose access to your device.
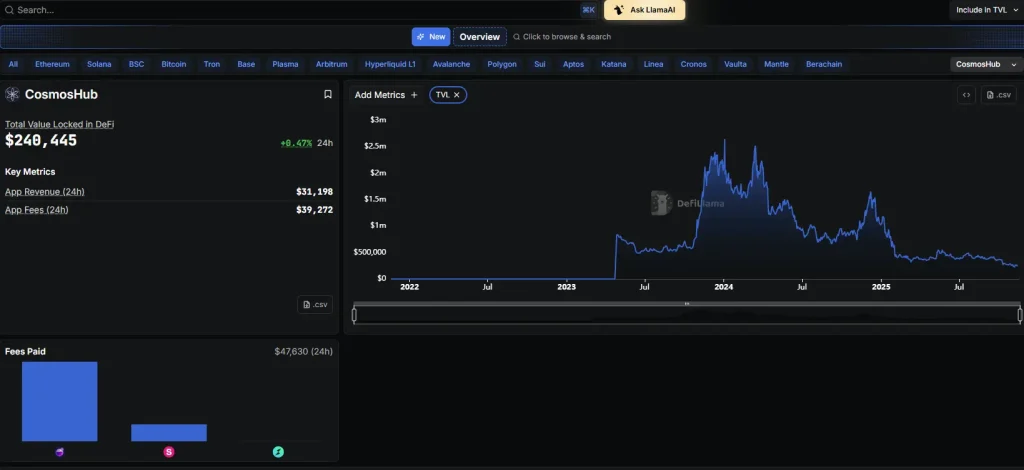
Once set up, locate your public address starting with cosmos1. This is your identifier for receiving ATOM and other IBC tokens. You can send a small test transaction to yourself to confirm the wallet is functioning correctly.

As an Amazon Associate, we may earn from qualifying purchases.
Bridge assets to Cosmos Hub via IBC
The Inter-Blockchain Communication (IBC) protocol is the engine that lets different blockchains talk to each other without a middleman. Think of it as a standardized shipping container for crypto. Instead of wrapping tokens into complex derivatives, IBC moves original assets securely from one chain to another.
To start using the Cosmos ecosystem, you need to get your first tokens into the Cosmos Hub. This process involves moving assets from your current wallet (like Ethereum or Bitcoin) to a Cosmos-compatible wallet, then using a bridge to send them across the network.
Before you can bridge anything, you need a wallet that supports Cosmos assets. Most major non-custodial wallets like Keplr or Leap have built-in support for the Cosmos Hub. Download the extension or mobile app, create a new wallet, and securely save your recovery phrase. This wallet will act as your gateway to the entire IBC ecosystem.
You need native tokens to pay for transaction fees on the Cosmos Hub. If you don't have ATOM, buy it on a major exchange like Coinbase or Binance. Then, withdraw those tokens to your Cosmos wallet address. Alternatively, you can bridge stablecoins like USDC from Ethereum or other chains if you prefer not to hold volatile assets initially.
If your assets are on a different chain (like Ethereum), you cannot send them directly to a Cosmos address. Use a trusted IBC bridge or a centralized exchange that supports direct deposits to Cosmos. Bridges lock your assets on the source chain and mint equivalent tokens on Cosmos Hub. Always verify the bridge address to avoid phishing sites.
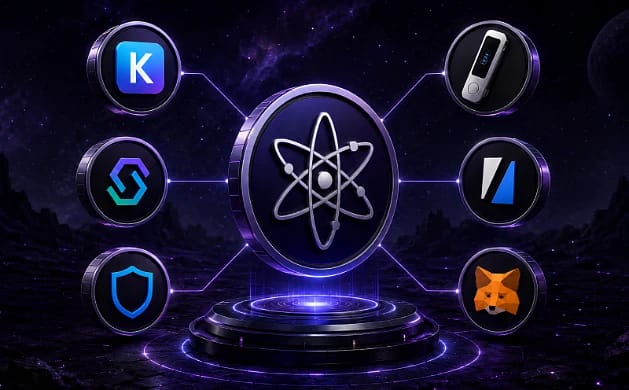
Once the transaction is confirmed, check your wallet to ensure the tokens have arrived. You can also view your holdings on a block explorer like Mintscan. This confirms your assets are live on the Cosmos Hub and ready for staking, trading, or sending to other IBC-connected chains.

As an Amazon Associate, we may earn from qualifying purchases.
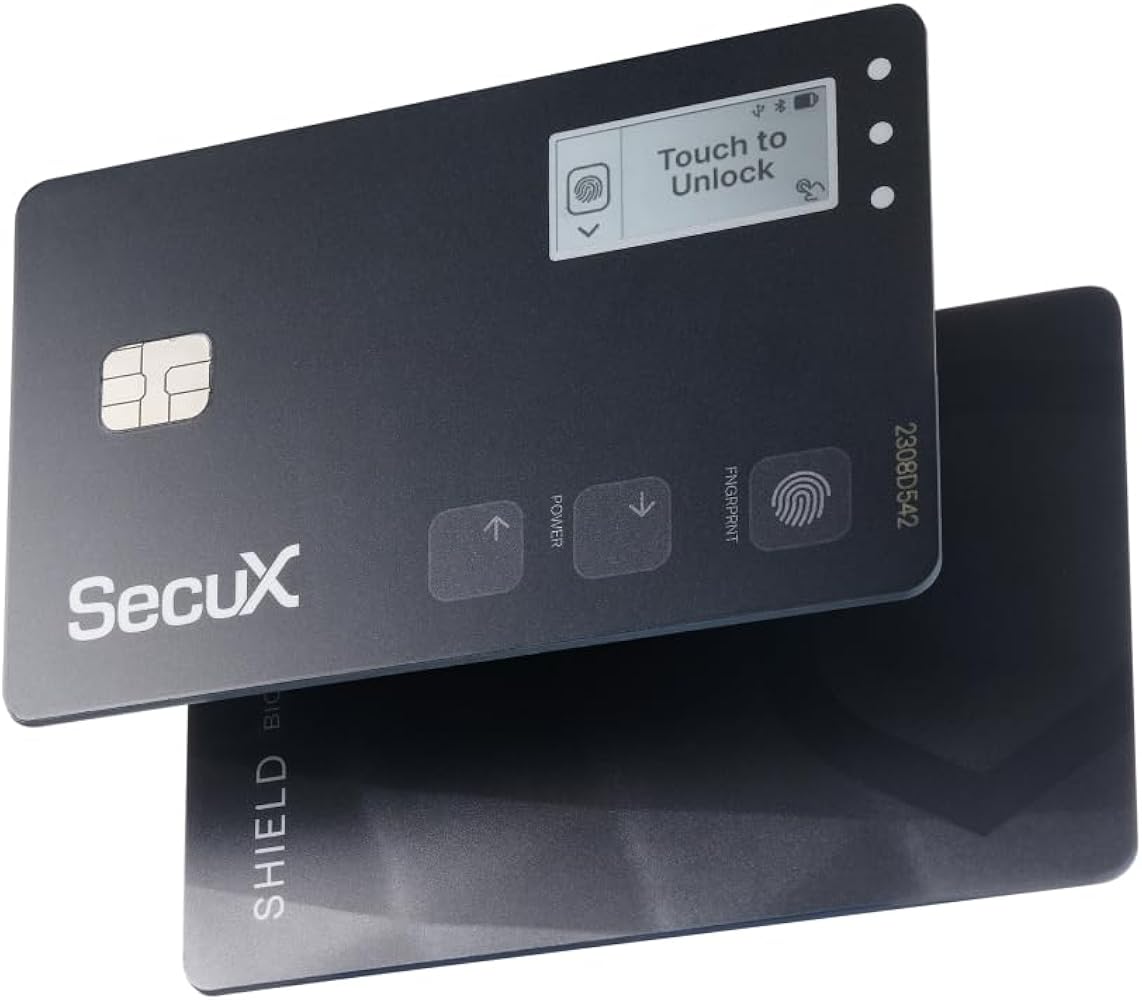
Using a hardware wallet adds an extra layer of security for your ATOM and other Cosmos assets. Since you are managing keys directly, protecting your seed phrase is critical. A hardware wallet keeps your private keys offline, making them immune to online hacks or phishing attempts.
Stake ATOM to Secure the Network
Staking ATOM is the most direct way to participate in the Cosmos ecosystem. By locking your tokens, you help validate transactions and secure the network, while earning a yield paid in new ATOM. Think of it like putting your money in a high-yield savings account, but instead of a bank, you’re supporting the infrastructure of the internet’s blockchain layer.
Here is how to get started, from getting your tokens ready to choosing a validator.
Before you can stake, you need ATOM in a wallet that supports the Cosmos blockchain. Ledger Nano S/X and Trezor are popular hardware options for keeping your keys secure offline. Software wallets like Keplr or Leap are also widely used for their ease of access to the Cosmos ecosystem.
You don’t stake directly to the Cosmos Hub; you delegate to a validator. Validators are the nodes that process transactions. Look for validators with a commission rate that fits your budget and a track record of uptime. The Cosmos blockchain explorer or your wallet interface will list available validators and their current performance metrics.
Once you’ve picked a validator, connect your wallet to the staking interface. Enter the amount of ATOM you want to delegate and confirm the transaction. This action locks your tokens into the consensus mechanism. You will receive receipt tokens (rATOM) or see your staked balance updated in your wallet, representing your share of the validator’s stake.
Staking rewards are distributed regularly, usually every few hours, directly to your wallet. You can choose to compound these rewards by restaking them, or withdraw them for use in other DeFi protocols. Keep in mind that staked ATOM is liquid but not immediately spendable; you must wait for an unbonding period (typically 21 days on Cosmos) to withdraw your principal.
While staking offers a steady return, it’s important to understand the trade-offs. Your tokens are exposed to the price volatility of ATOM, and slashing penalties can occur if a validator misbehaves, though this is rare for well-maintained nodes. Always do your own research on the validator’s security practices before delegating.
Provide liquidity on Osmosis
Osmosis is the leading decentralized exchange (DEX) in the Cosmos ecosystem. It was built specifically to handle the Inter-Blockchain Communication (IBC) protocol, meaning it can trade assets from other chains like Cosmos Hub, Osmosis, and even external networks like Ethereum or Bitcoin without wrapping them into synthetic tokens. This makes it a unique hub for cross-chain liquidity.
To earn trading fees and OSMOS incentives, you need to move assets into a pool. Think of liquidity pools like a shared vending machine: you put in two types of candy (tokens) in a specific ratio, and every time someone buys a candy, they pay a small fee that gets split among the people who stocked the machine.
Here is the step-by-step process to get started.
Open the Osmosis web interface. Click the "Connect Wallet" button in the top right corner. Select your preferred Cosmos-compatible wallet, such as Keplr, Leap, or Cosmostation. Ensure you are connected to the Osmosis Mainnet.

If your assets are on Ethereum, Solana, or another chain, you must bridge them to the Cosmos Hub (ATOM) first. You can use the official Cosmos Bridge or a trusted third-party like Stargaze. Remember to bridge your ATOM first, as you will need it to pay for transaction fees on the Cosmos chain.
Navigate to the "Swap" tab. If you want to provide liquidity for a specific pair (like ATOM/USDT), you may need to swap your ATOM for the second asset first. Use the native IBC transfer feature within your wallet to move assets directly from their source chain to Osmosis if available, which is faster and cheaper than bridging.
Go to the "Pools" section and select a pool that matches your assets. Click "Add Liquidity." You will need to deposit equal value amounts of both tokens. For example, if you are adding to an ATOM/USDC pool with a 50/50 weight, you deposit $50 worth of ATOM and $50 worth of USDC. Confirm the transaction in your wallet.
After adding liquidity, you receive LP tokens in your wallet. These tokens represent your share of the pool. To earn trading fees and OSMOS incentives, go to the "Earn" or "Staking" section of Osmosis and stake these LP tokens. This locks your assets in the pool and begins earning you rewards.
Before you start, make sure you have a hardware wallet for your main holdings. Osmosis is a DeFi platform, and while the code is open-source, interacting with smart contracts always carries some risk of bugs or exploits.


As an Amazon Associate, we may earn from qualifying purchases.
Check for common IBC bridge errors
The easiest mistake with Cosmos Crypto DeFi is comparing options on the most visible detail while ignoring the day-to-day constraint. A choice can look strong on paper and still fail because it is too hard to maintain, too expensive to repeat, or awkward in the actual setting. Use the same checklist for every option: fit, cost, durability, timing, upkeep, and fallback plan. That keeps the comparison practical instead of drifting into preference alone.
The simplest way to use this section is to write down the real constraint first, compare each option against it, and choose the path that still works outside ideal conditions.
No comments yet. Be the first to share your thoughts!